
This is how I created my website…
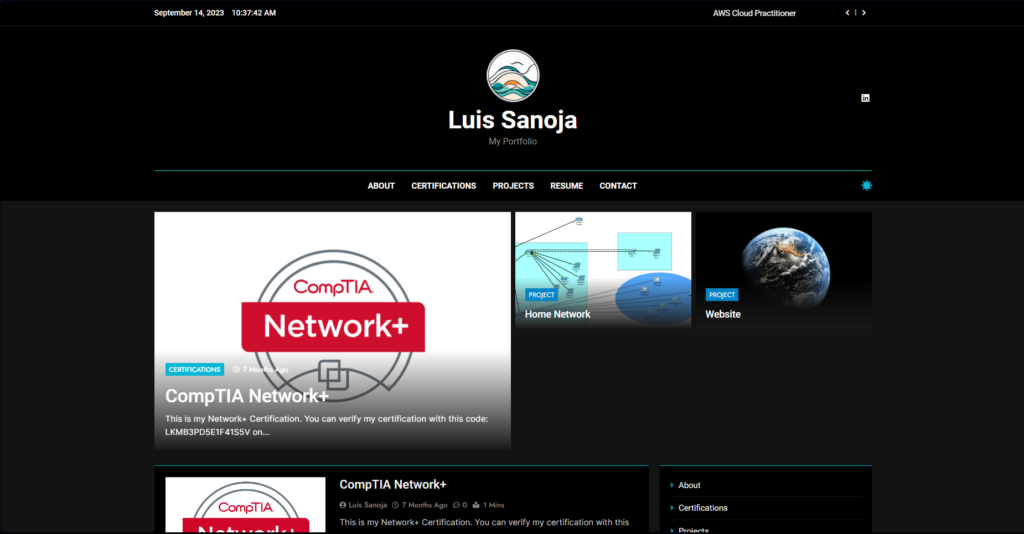
First I would like to say that I am not an expert at all, and this website, as you may have noticed, is very basic. Besides that, it does accomplish its purpose, which is to be able to share my portfolio with certifications, projects, and perhaps even other things.
Steps I took
- Getting a domain
- Hosting the website
- Choosing an environment
- Choosing a design
- Editing the site
- Adding content
Getting a domain
This is the first step I did when starting my website. For this, I used Hostinger which is a website hosting platform. I wanted my website to be called sanojaluis so I just focused on looking for a domain extension.
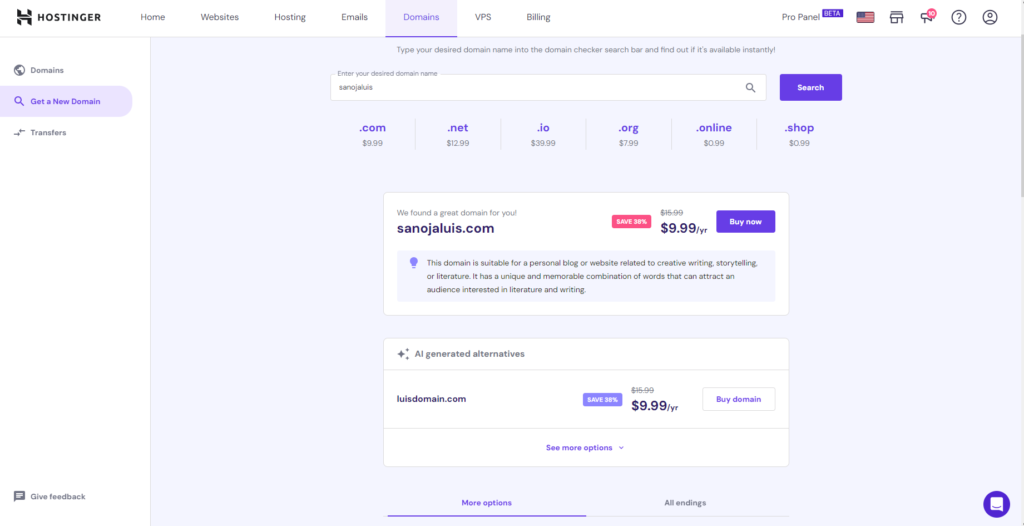
There are literally thousands of extensions (such as the classic .com) so it took me some time, but since this was my first website my focus was on economy so I was mainly looking for a nice domain extension for about a dollar per year. Right now there are a couple of good ones like the one below (.tech) which would look pretty good if you’re on the tech side.

I wish this one was cheaper when I was looking for an extension, but as you can see they can be very expensive. The extension I chose for my domain is .click which was one of the better looking at the time.
I decided to buy this domain for about three years. It expires on 02-02-2025, which was about three dollars plus tax in total.
Hosting the website
The second step I took was hosting the website, of course.
This I did by again using Hostinger as I found it had a good price and offered me good basics. There are different plans for hosting a website but again I went for the most economical option as I don’t really expect there to be much traffic in my website anyway.
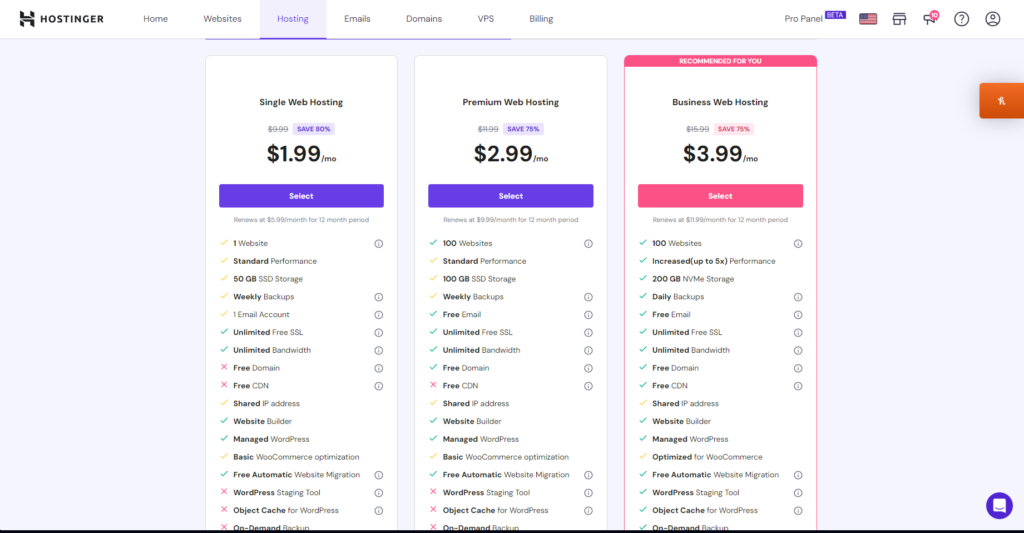
I chose to host my website for about five years and it expires on 02-02-2027. I did this mostly because it was a better price long term and this gives me a lot of time to learn and to work on my website.
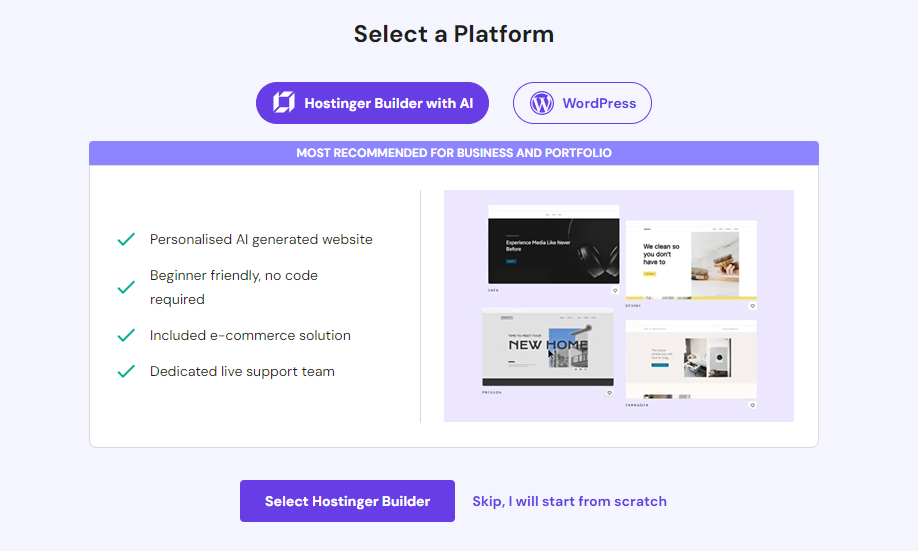
Choosing an environment
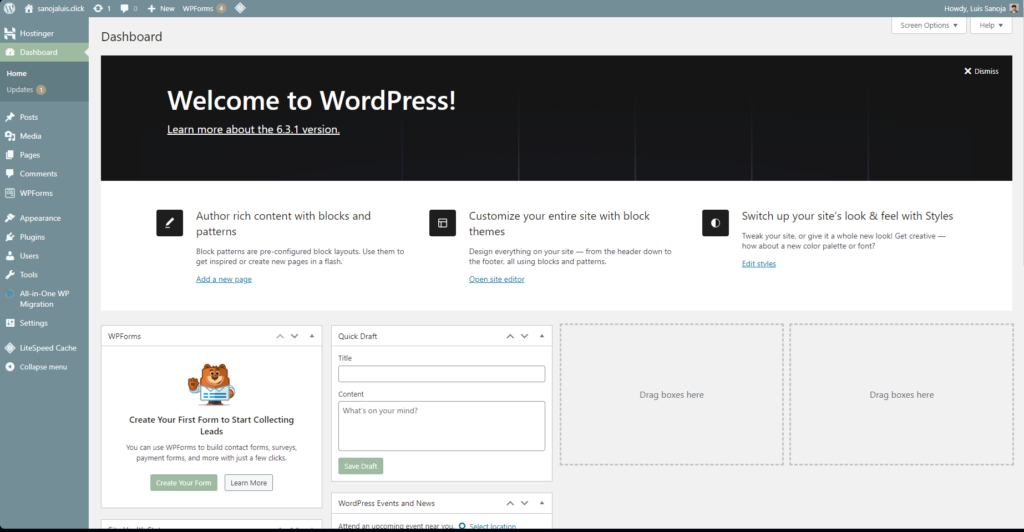
The third step would be to choose an environment to develop the website. Hostinger gives you the ability to build your website and includes AI (which wasn’t included when I got it). I chose WordPress because that’s what most tutorials on YouTube used, which perhaps wasn’t the best idea but it was good as I learned quite a bit by using it.
This is what it looks like inside WordPress.
Choosing a design
The fourth step is to choose a design, as I wasn’t an expert and perhaps you aren’t either, I would suggest using a design as you can find some good ones, and they’re free, and you can customize them, so this is what I did.

There are a lot of designs, or themes as WordPress calls them so it takes a little to find a design that you like and that fits the layout that you want to have in your website. I recommend looking thoroughly inside each website that you like, colors can be changed but the layout is more complicated, especially if it’s your first time working with WordPress, so it’s best to focus on the layout and functions of the website before choosing a design.
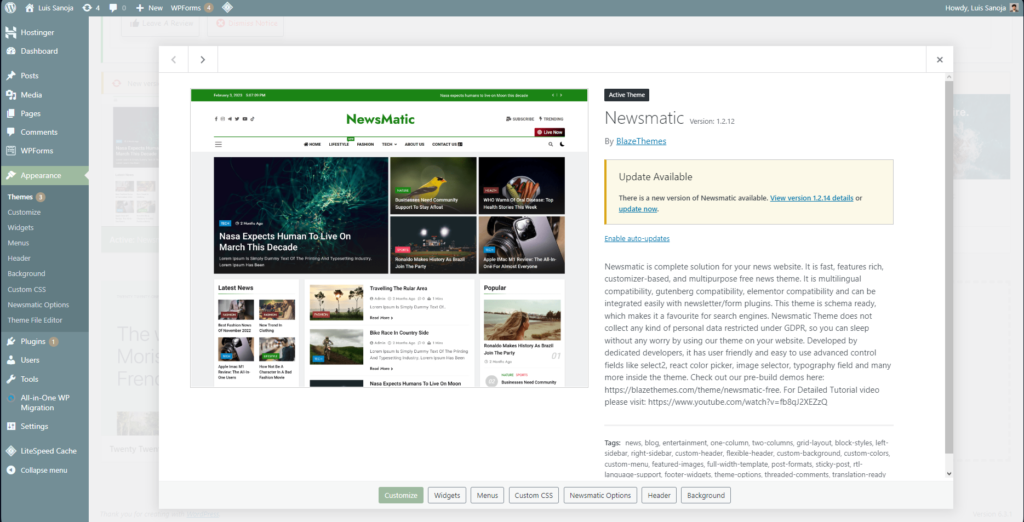
This is the design I chose.
Editing the site
This step… I lost count. After choosing your theme, you have to edit it. This is probably the longest most stressful process on this list, so I do recommend trying to use a good theme before doing this. You can use WordPress or other plugins to help you personalize your website. I used WordPress and it was a very stressful process.
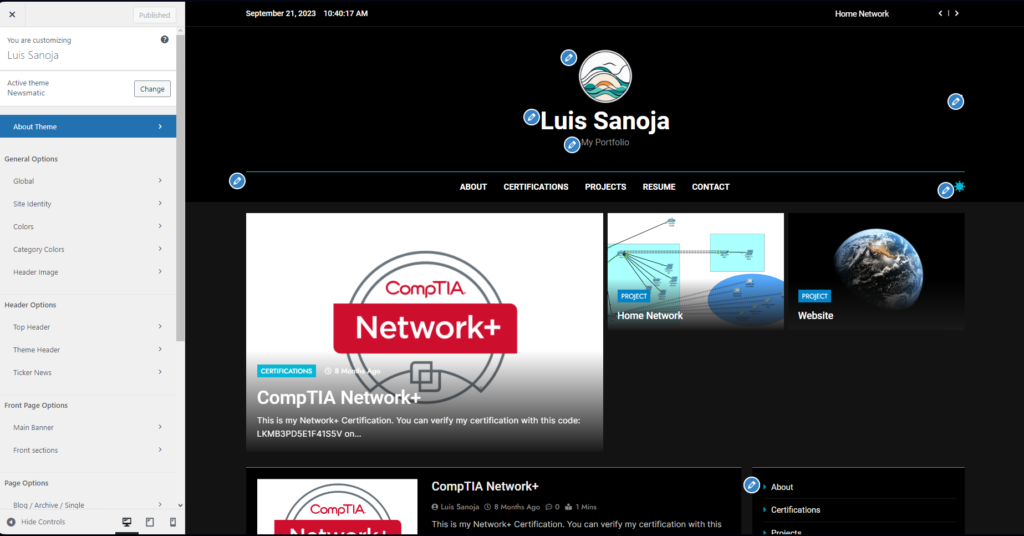
This is how I edited my website. There are quite a few tools and preset templates for buttons, post lists, etc. You can edit the template for the different pages as well as for the templates.
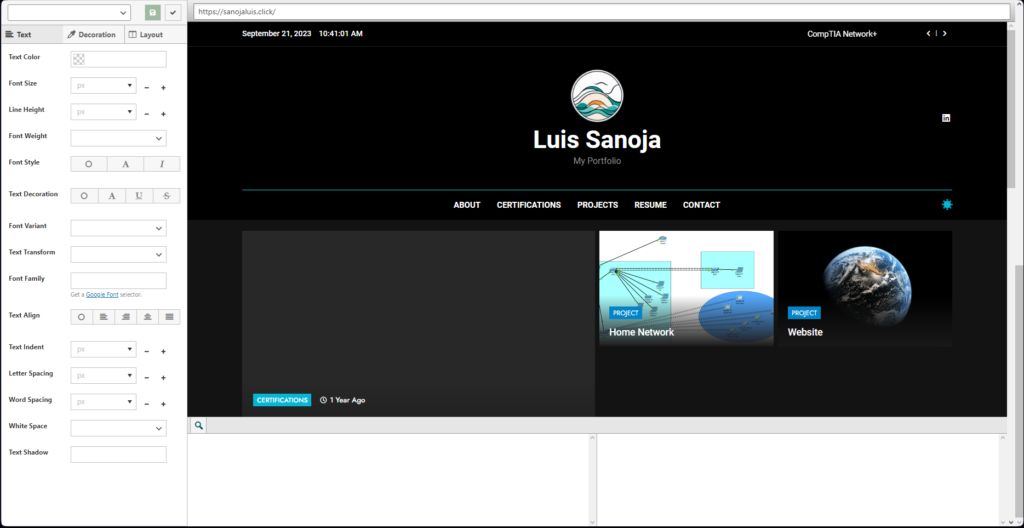
This is a tool I recommend using for further editing, it’s called Custom CSS.
Adding content
This is where you see the posts.
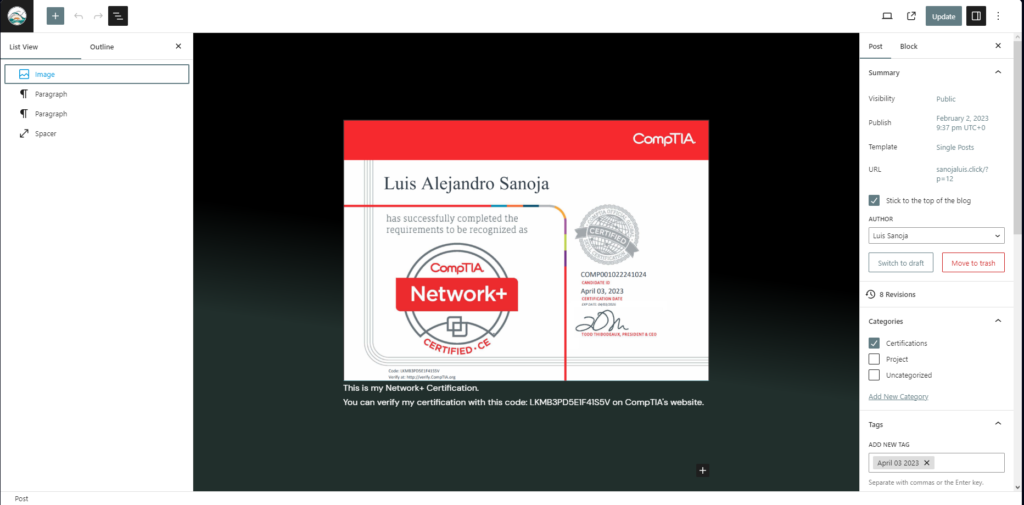
This is how you edit them.
I’m tired of typing…